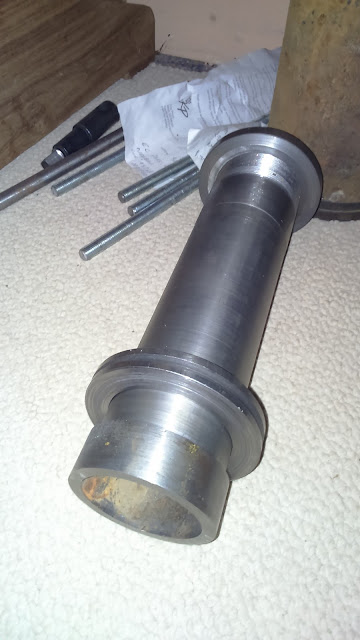
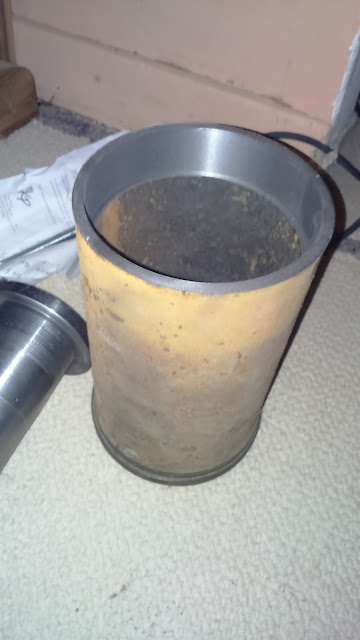
This is the next step. Once I have the basic casting done I can begin the more precise setting up of the spindle referenced against the ways.
All credits for the excellent drawings must go I believe to Tyler Disney
The final pattern dimensions. End elevation. I have now roughed out the final dimensions after many changes. To a large extent I have worked from working height of one of our one meter lathes at my work. There are a few notable exceptions. You will notice a massive 400 mm swing over the ways. Accordingly the distance between centres of the ways is also 400. This should give the required stability to the carriage on very big diameter cuts. In any case, the carriage clamp can be employed. I am toying with the idea of making a fitted carriage clamp.
I would still very much appreciate comments from other engineers on my proposed use of channel tilted to make inverted v ways. Sketch is on my page "ways and means"

here I have marked out the end piece onto some scrap bits of 16mm chipboard(old cupboards) This will be the master. Another 3 will be made off this...obviously the two at the tailstock end will end just above the ways. I intend to place the shuttering for the legs about 130 mm apart to allow for sturdy leg support. I'm still scrounging 8 mm rebar for inserting throughout the casting.
4 weeks later:
Well I scrapped the idea of using recovered cupboards and pallets and invested in a full sheet of 16mm chipboard to make up the concrete shuttering. I needed accuracy and I needed to mark everything carefully out so that I could visualise the shuttering. I have designed a lathe with a hollow bed. I am trying to avoid simply casting a massive chunk of concrete simply because it's easier! Whilst I want as much rigidity as possible, I also want to keep the Wright under 400 kg if possible so I can move it. Marking out carefully was a splendid idea. Many details of the bed connecting the two ends became clearer. In fact many design details were adjusted as I went along. I used sandpaper to erase pencil markings and re pencilled my lines. Things like the shape of the cavity, where the concrete saddle will fit, the protrusion of things like the saddle, crosslide and tailstock all became much clearer. I will start boxing the formwork together tomorrow and photograph it as I go. Following are the pics of the cut out end sections. All holes for ways, spindle, controls are still to be finalised and cut. Once again, I will do this "flexibly" as I go!


 The plate I have used is 20mm x 140mm X 650mm long. I am making a long cross slide because I intend to mount a grinder on the back from time to time as well as use it for milling applications. Progress for me is slow! The materials here in Africa are expensive. This month I bought that steel, some of the other cross slide steel and the chip board for making the shuttering for the concrete main frame. That used an eighth of my disposable monthly salary!


